I'VE MOVED!

Confessions of a Shopaholic has moved!

You will be re-directed in a couple of seconds to the new location or please click the link below:

>> Confessions of a Scrapaholic <<

Sunday, October 19, 2008

Oh to be American...

...if only to have daily access to all your fantastically FABULOUS craft stores!

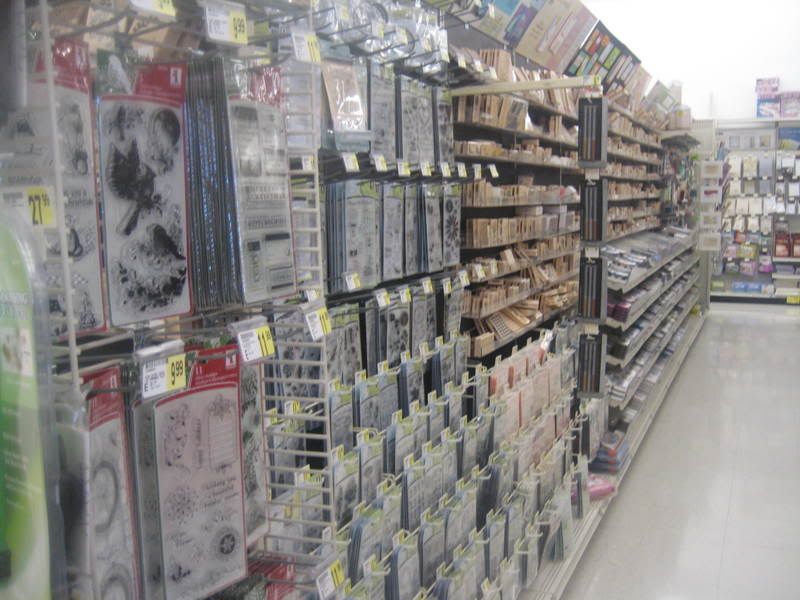
I crossed the border this past weekend my friends, and let me just say, I was *SO* jealous of you Americans!

I mean, you have a Michael's which is fine because I do too, but you have a Michael's with STUFF! And more than that, you have a Jo-Ann's, a Hobby Lobby and I didn't even get a chance to find a...crap, I forget the name of the other craft store I was jealous of you for. Plus your Wal-Mart's have TONS of scrapping stuff. *sighs wistfully*

Anywho, a little peek-a-boo at my trip:


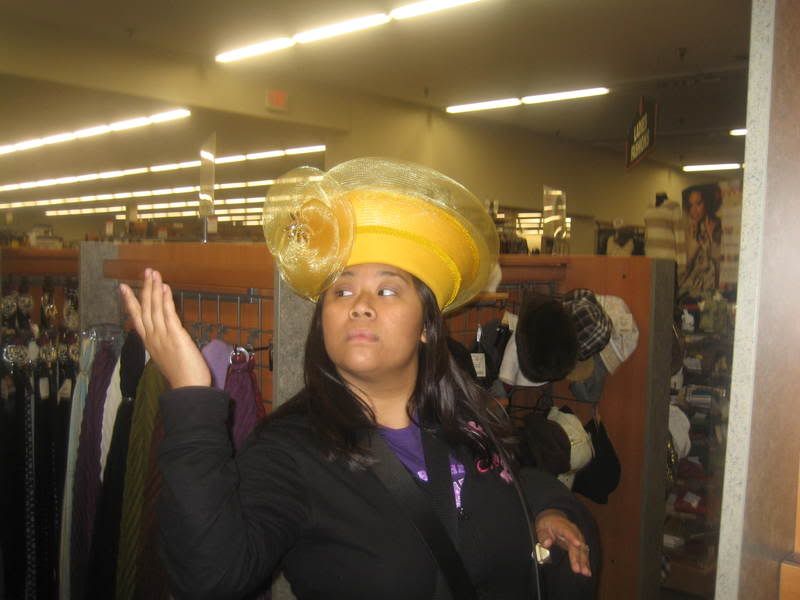
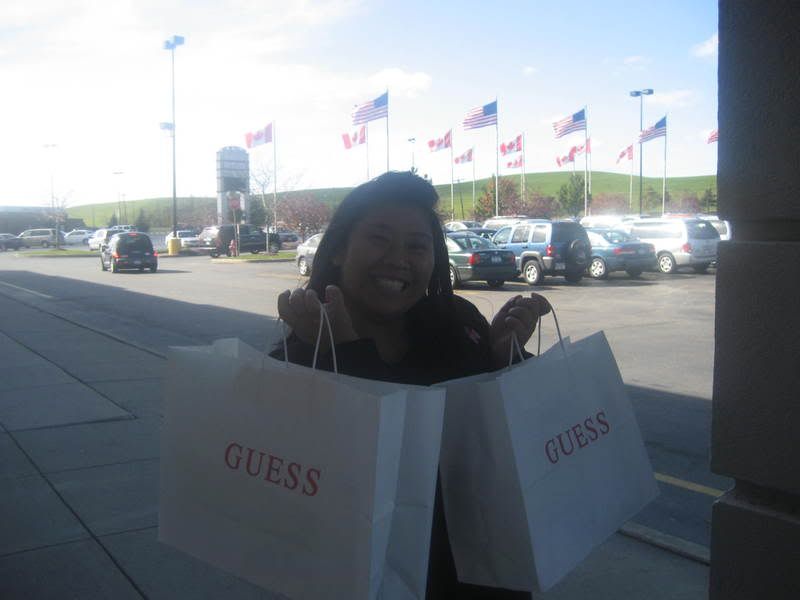
Well, who can say no to 50% off? *giggles* They were Christmas presents though, I was a good girl!


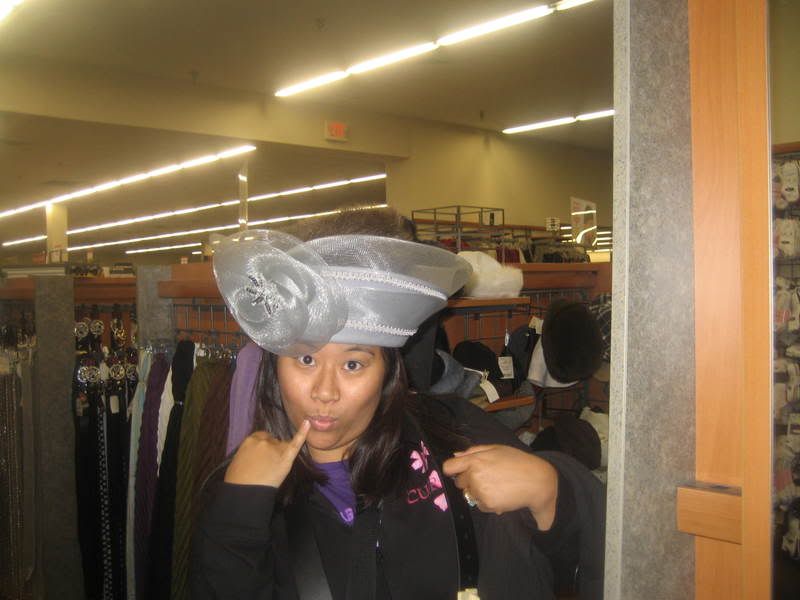
The Queen is *SO* jealous of me right now...


I seriously sat down on the ground and stared...


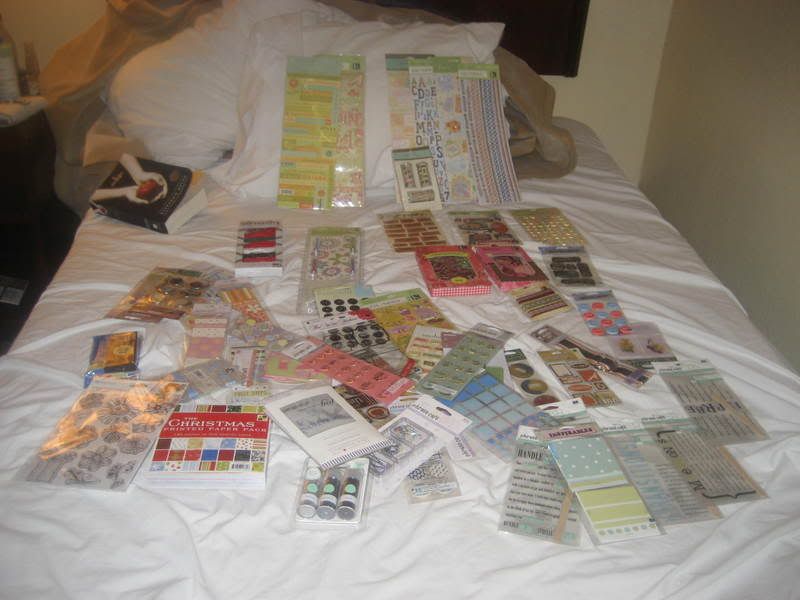
Okay, I was a good girl up until this point!


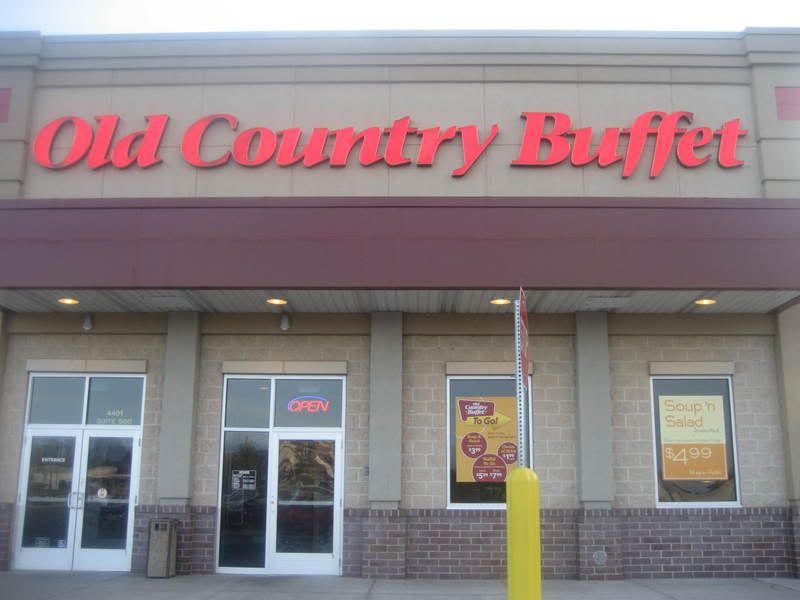
Oh, how I love thee...

*whew* That last picture there...HOLY MOLY! If we had one of these in Canada...

CURRENT MOOD: CURRENTLY LISTENING TO:

Wednesday, October 15, 2008

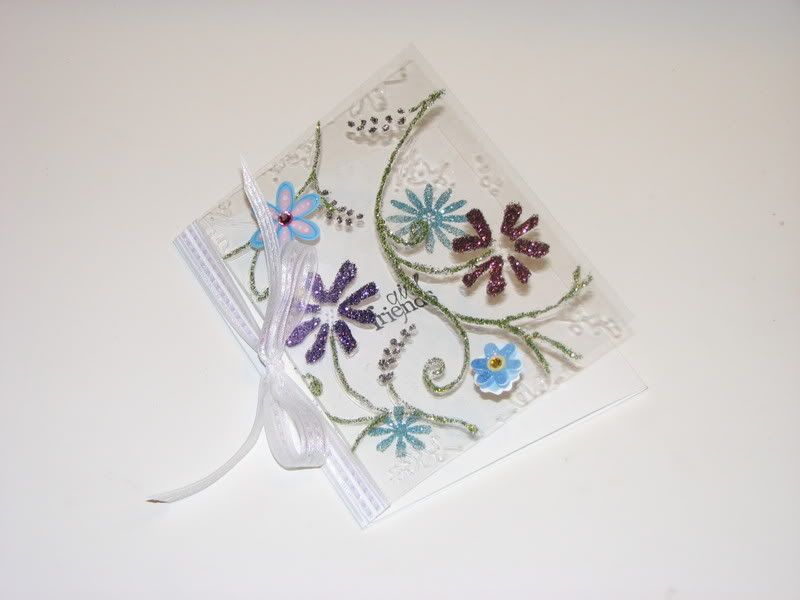
Clearly Stickle-licious...

...well look at me go! I am so happy that I seem to be back into the groove of things! I feel like scrapping and playing and I have TIME to do it! And I'm back to my regular ol' shopping ways, which is kind of bad right now because I'm trying to lower my debt! HAHAHA...

Anywho, there's nothing like getting back into the swing of things than by getting out your STICKLES!

I snuck a peek at Marti's blog (http://pezadoodle.blogspot.com/) while I was at work to see what she's been up to and my eyes were wonderfully assaulted by fabulously GLITTERY and SPARKLY YUMMINESS! So with the instructions already there, I couldn't NOT try it out!

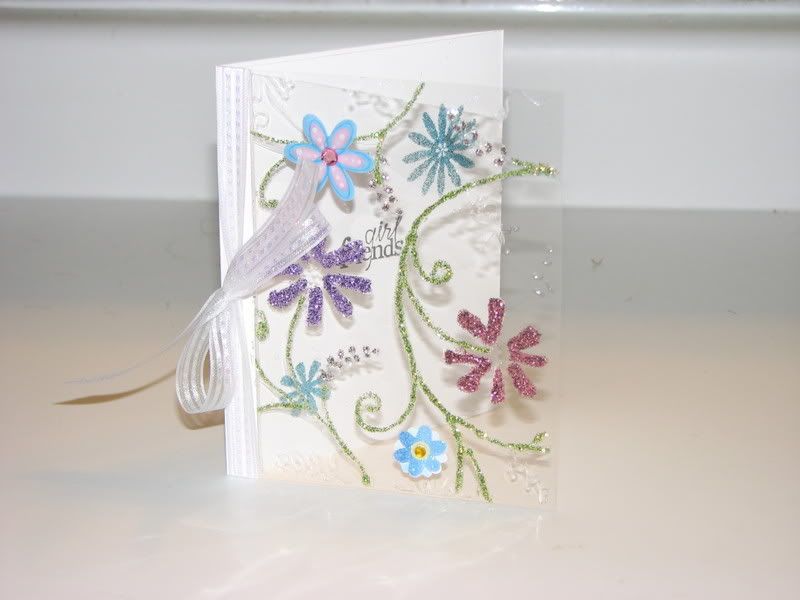
Here's my take!


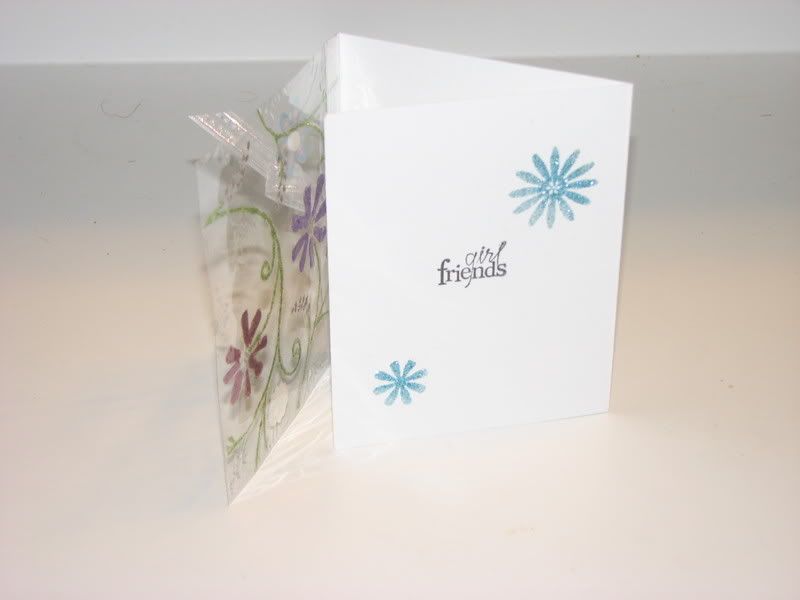
Look out! Picture-heavy because I am LOVING all over this card if I do say so myself!

Here we go: I cut down a piece of acetate (transparency paper, overhead paper - whatever you like to call it) and Cuttlebugged it with my choice of folder (the designs with bigger embossed "wells" work the best for this type of project. I had to add a thin piece of paper in between the plates to really get the sheet embossed. Next I just chose my stickles and filled in the wells. I had to do two sessions of Stickle-ing and drying until I had the right amount of glitter in my wells.

'Nuff said, get your Stickle on!


CURRENT MOOD: CURRENTLY LISTENING TO:

Tuesday, October 14, 2008

Love: Plain and Simple...

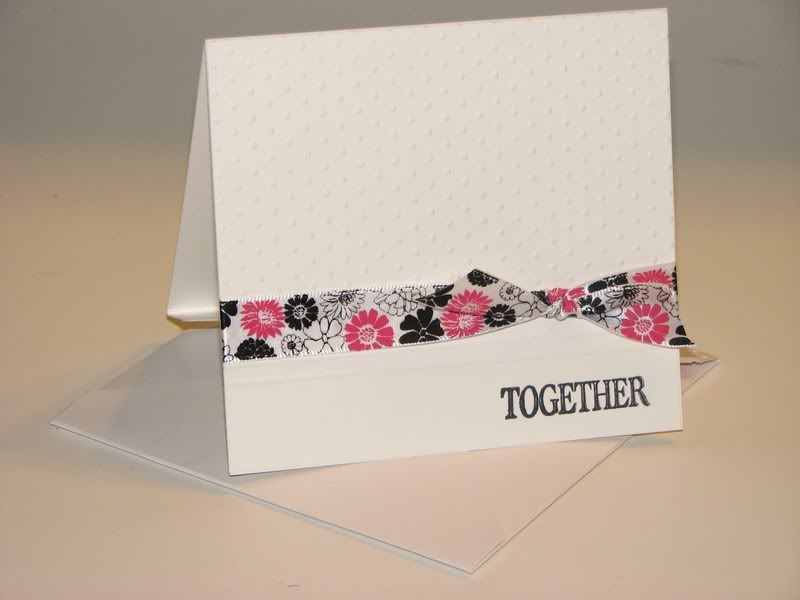
...in black and white! Well, I couldn't do ONLY black and white...for some reason, I kept insisting on adding a tiny bit!

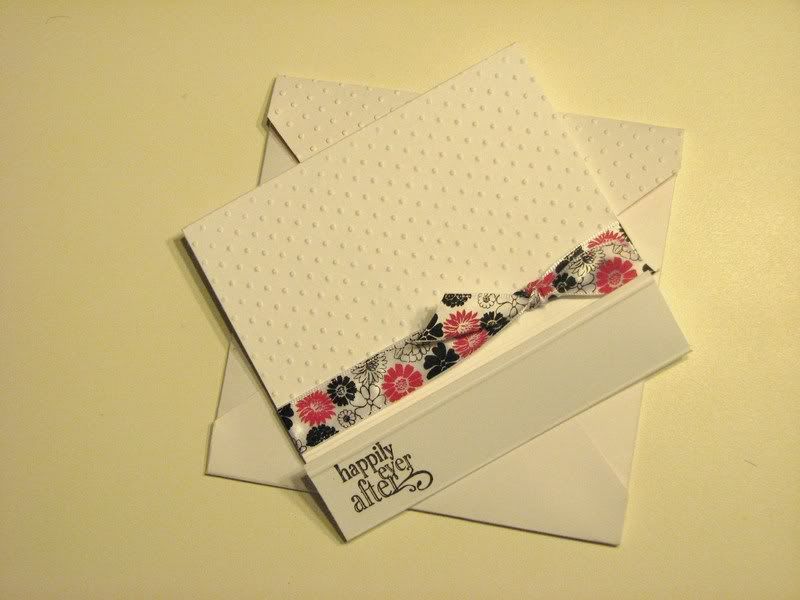
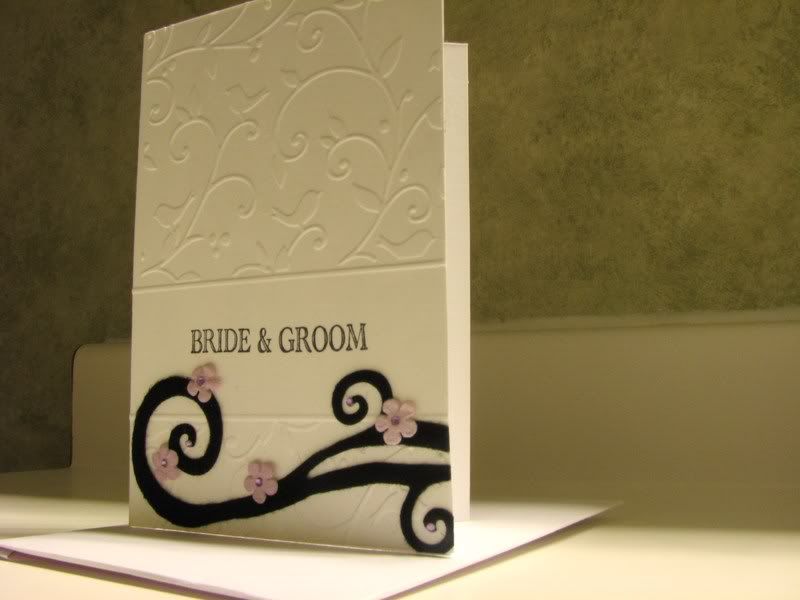
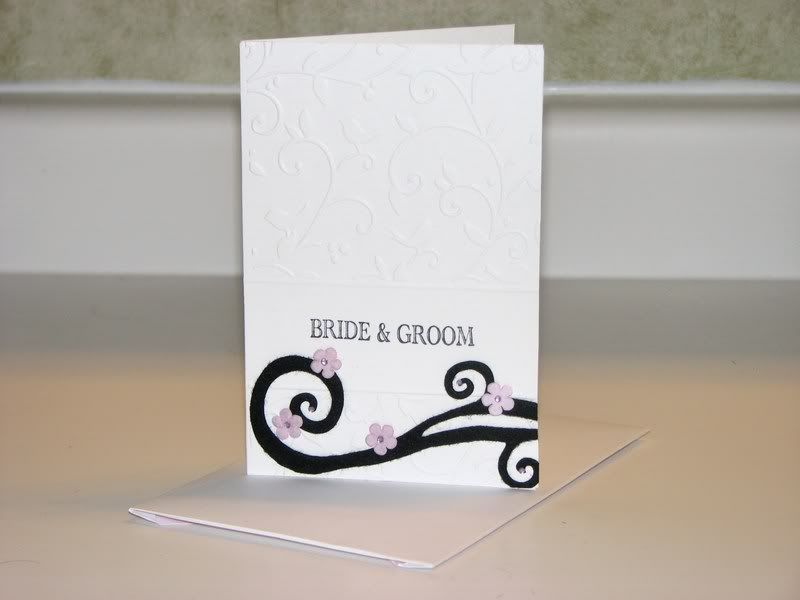
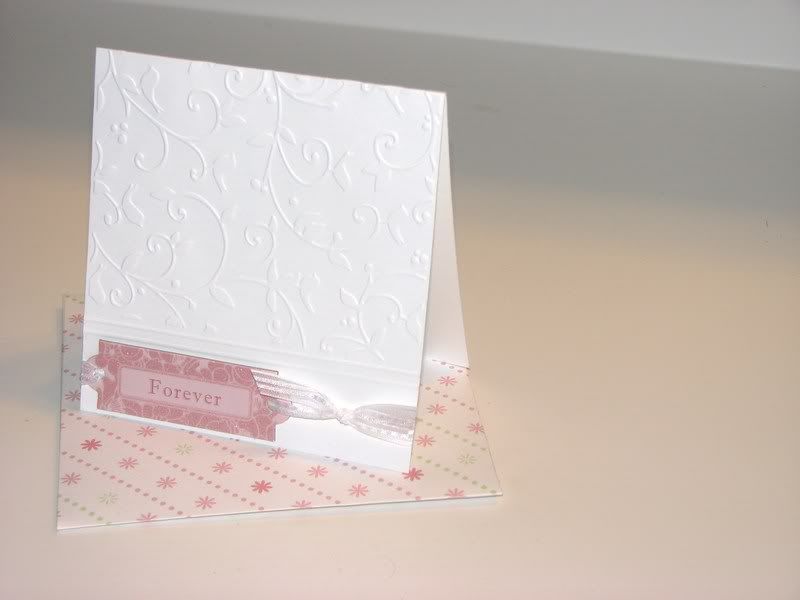
A co-worker of mine requested a plain black and white wedding card for her niece's wedding. I finally hit my stride and ended up with a few...


She only wanted to choose one, but I just gave them all to her. When she said black and white at first, I flashed on something SusieB-esque and pretty much went with that.

Not much to really go on about, embossing folders and a Cuttlebug. The only cool thing that I haven't ever worked with before is the curly felt - right now I'm drawing a blank on what the name of it is...everything else that was used was generic ribbon and generic Dollarama chipboard.

CURRENT MOOD: CURRENTLY LISTENING TO:

Monday, October 13, 2008

Trick-or-Treat...

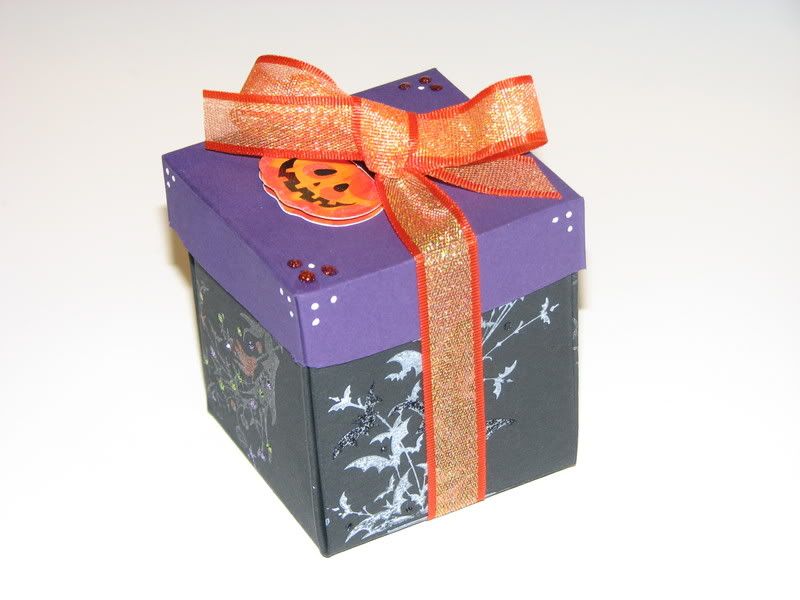
...in a box! I totally lifted this from Katie's (http://katiespaperhaven.blogspot.com/) blog and I had a TON of trouble with it! LOL...it's not my fault you make everything look so easy, Katie! If you haven't had a chance to visit her blog, I suggest it be the next place you visit! I love her work!

I had originally planned on making six of these for my co-workers (with little treats inside) but the amount of work it took to make this one...well...


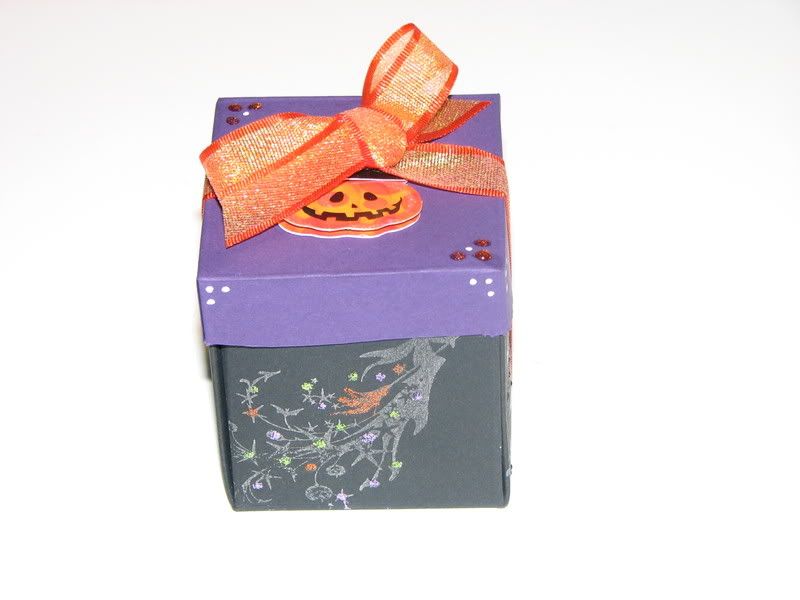
But it's SO CUTE! (I mean, if I do say so myself!) Each opposite sides of the box I stamped using two stamps (Inkadinkadoo's All Hallows Eve line). The bats, I stamped in Adirondack's PIGMENT (aka creamy yumminess) ink and I added BLACK Stickles to accent some of the bats. The other sides, I stamped the witch in Studio G silver ink and used Stickles to accent.


Gotta love Stickles against a black background! Other accents was a white gel pen, and Halloween 3D sticker from Dollarama. Ribbon was 50% off from Michael's (which sucks because it was still $1.99 after being half-off!)


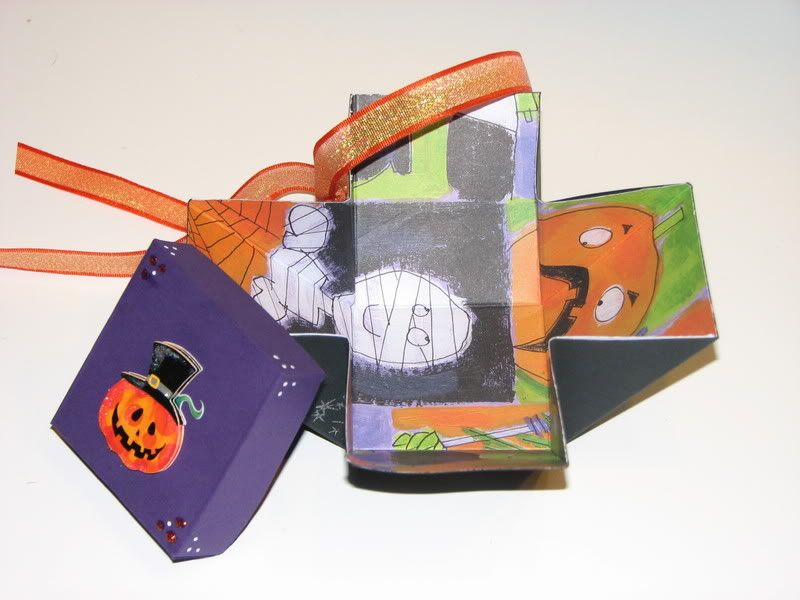
And that's the inside - Halloween patterned paper from Michael's.

CURRENT MOOD: CURRENTLY LISTENING TO:

Sunday, October 12, 2008

I'm Thankful for...

...turkey! And potatoes! And GRAVY!

What I'm not thankful for? Lack of MOJO! Where the heck is it?!?!

So The Mister and I are headed over to the in-laws (or his parents, because I guess they wouldn't be his in-laws) for the day-before Thanksgiving feast and my mother-in-law being the formal and etiquette-ful person that she is, I thought it would be a good idea to bring a card for her, since she was kind enough to host dinner.

Imagine my complete disgust when this is what I come up with:


*wrinkles nose* Oh WOW! BOXES upon BOXES full of goodies and this is all that comes from it?!?!?

I was thinking that honestly, if this is what I was going to come up with using all the FABULOUS things I got, then I better pack everything up and send it back to Marti! LOL...yes, I guess the added pressure that I was putting on myself was kind of stressing me out a bit...but I kind of thought I was a bit capable of more. I mean, look at that...eeew!

But to be fair, the stamp is great. It's from Inkadinkadoo's Harvest Expressions line. I stamped it using Adirondack Dye Ink in Espresso. And that's pretty much it. Pop-dots of course, but apparently, it wasn't enough to save this monstrosity.

Maybe I work a bit better under pressure...an hour before it was time to leave, I was able to come up with this:


*smiles* Still wasn't my most favourite piece of work, but it was still better than the cardstock vomit I had earlier, right? I love this one because of the little bits of detail that was added - that no recipient except for a scrapper would really ever truly be able to appreciate.

The Primas are sprayed with a Perfect Pearl Mist (a combination of Perfect Pearls and water in a Mini Mister - no, not a smaller version of The Mister - HAHAHA, I crack myself up). Oh my goooosh the pretty-ness of the glittery sparkles! I layered three Prima flowers and just held them together with a...wow, has it been that long that I can't remember what that thingamajig is called? Someone tell me!

The BEAUTIFUL curly-cue detail is Tim Holtz's Grungeboard. I inked it with Studio G inks and then used Cracklepaint to get some nice texture to it. Now that's a curly-cue with personality, I would say!

The stamp is from Inkadinkadoo's Harvest Expressions and stamped in Studio G gold ink! Other materials used is K&Co. patterned paper and the threading water punch.

CURRENT MOOD: CURRENTLY LISTENING TO:

Thursday, October 2, 2008

Let it Snow...

...I can't believe I'm making cards that encourage solid precipitation. Apparently, I'm behind since everyone and their neighbor's gardener seem to have TONS of Christmas cards made already.

Anyway, I won't get too into anything since I'm back-dating these entries anyway, but I really wanted to make a card using Marti's sent stamp goodies! Originally, I had Marti's goodies there without the word 'stamp' but it didn't really sound that good and I don't need people to wonder why Marti's sending me her goodies...I seem to get sidetracked really easily these days!

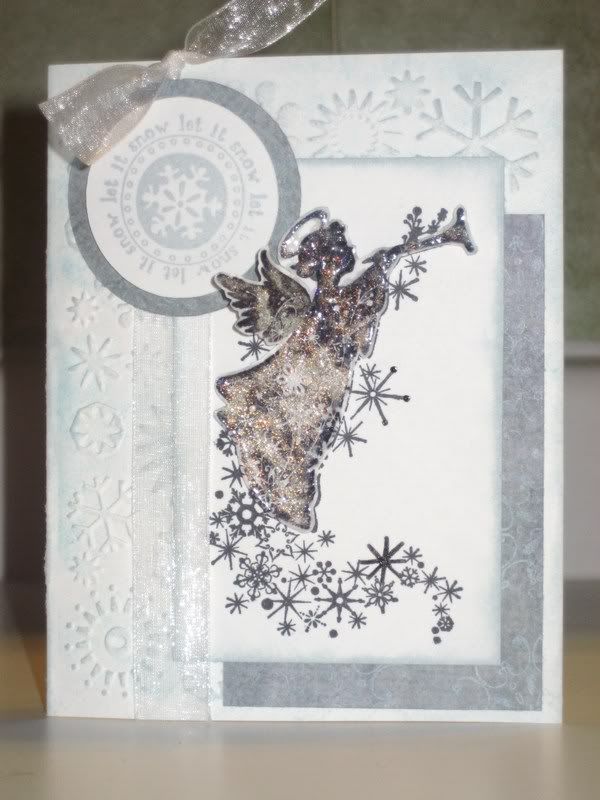
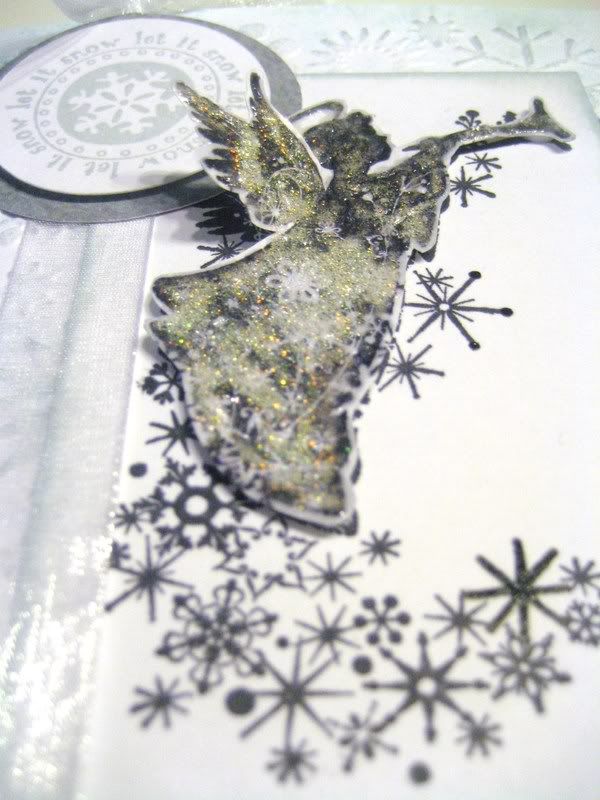
I fell in love with this stamp as soon as I saw it at Pez-a-Doodle. Leave it to Fabulous Marti to make sure I end up with it! *squeals* As soon as I saw it in my box, I knew that some way, I was going to be using Stickles with this. I got a little bit anxious and am not really known for patience so instead of just leaving it alone to let dry, I took my heatgun to it and it bubbled up and got all bumpy. (Note to self and to you people: DON'T take a heatgun to your Stickles!)

So anywho...! I stamped the image twice on plain cardstock. One for my base and one to cut out and pop-dot to make all fancy-looking! I swear, you can pop-dot garbage onto your card and it would look special just because it adds dimension. LOVE IT!

Can I tell you how long it took me to make this card? I know I made it a while ago, but I can still remember that I had TROUBLE - with everything! Where to put the image, how to mat it, yada-yada...*sighs* So anyway, I stamped with Archiver's ink and used Encore metallic ink in Teal to ink the edges of of my angel! I used the same metallic ink to ink up my snowflake embossing folder and ran my background image through the Cuttlebug. I stamped a round Inkadinkadoo sentiment from the Doodle Christmas line and stamped it on a Cricut-cut circle at who-knows what size! Ribbon always seems to finish a card off nicely!

Thanks for looking!

CURRENT MOOD: CURRENTLY LISTENING TO: BODY BUMPIN' - PUBLIC ANNOUNCEMENT

Wednesday, October 1, 2008

Bits and Pieces...

...okay, I have been MIA so long, it's almost embarrassing! I can't believe I've let everything fall to the wayside like that! I can't believe I can't find the time and/or the energy to drag myself into the scraproom! And then on some days when I feel like making something, I just work on top of the mess that's already there - therefore, I will never get a proper clean-up - unless I set aside, oh say, a weekend!

As some of you who actually still check this will figure out, I'm going to be back-dating some entries so I won't totally annihilate your eyes by putting everything on one single post!

So going back - let me first start off by saying that being on Marti's design team is MINDBLOWING. I kind of suck a tiny bit (probably more than a tiny bit) since I haven't done much lately - obviously...but HOLY MOLY! I got home late one night after being harrassed at work and there's a box sitting there waiting for me. And I open it...and *jaw drops*

There's stamps (wooden and acrylic), there's ink pads, there's GOODIES gallore, lemme tell ya, and this is what I come up with after a fortnight of hemming and hawing over what I should make:

*shakes head in shame* Can you BELIEVE it? Well, you might be able to since I didn't take a picture of the oh-so-wonderful goodies for you to know the ENDLESS possibilities that was presented to me and this is all I could come up with.

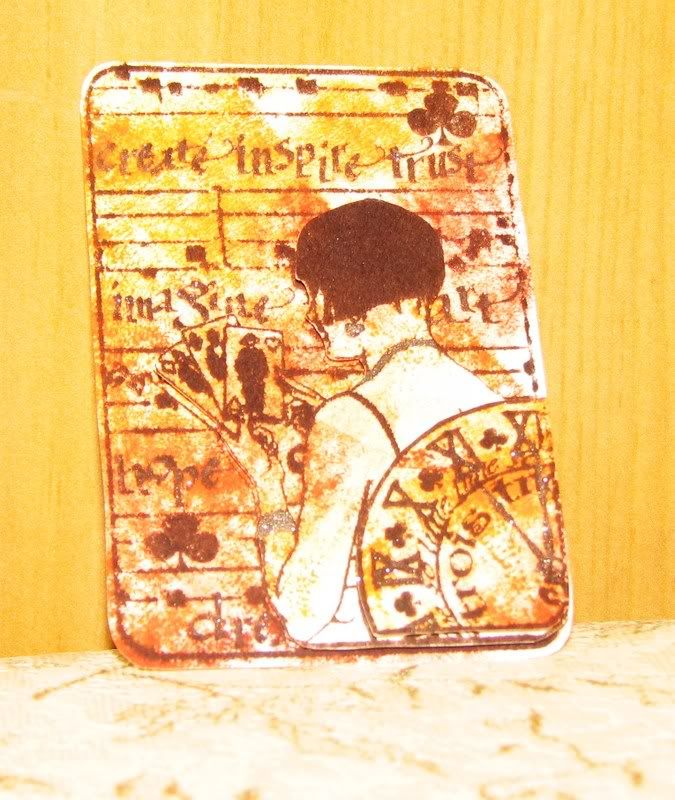
Anywho, I guess you might call this an ATC (artist trading card), but really, I have no idea what it is. I would say it's a 3D embellishment that will hopefully, one day, find it's way onto a card or layout. In the meantime, this is it.

I'll take you on a short walk through it...

The stamp is a Hampton Arts wood-mounted collage-looking stamp. I took my Kaleidacolor multicolor ink pad (in Cappuccino Delight) and using a brayer, I brayered some multicolor yumminess onto a plain ol' piece of cardstock. I love multicolor brayering...it's the one time you don't have to be neat or precise about it, and it still comes out look fab! Anywho, I stamped my image using Adirondack dye ink (I'm not remembering the color right now - let's just call it...BROWN) three times on the now-inked up cardstock. I left one stamped image and cut around the outside to make it the base. The next image, I cut out the next largest piece of the image I could - which would be the lady. I pop-dotted her onto my base and it starts taking on a 3D effect with the base image being the background. Lastly, I cut the last image with one more layer - the clock.

For a finishing touch, I used my Sakura glitter pen to add little bits of glittery detail. So simple *wrinkles nose*

CURRENT MOOD: CURRENTLY LISTENING TO: JUST DANCE - LADY GAGA

Wednesday, July 30, 2008

I-tee, UTEE, we all tee!

...look at me with all the creating!

It's been a pretty good evening for it. For date night, The Mister and I went and bottled our wine that we had made (Kiwi Melon Zinfandel - YUMMY!) and even though I don't really drink wine, it's always so much fun to bottle! If you're interested in making and bottling your own wine, I highly recommend Vintner's Wine Cellar - if you have one in your area. Very good prices - we've been coming back since we made our ice wine favors for our wedding and I've also referred a bunch of people, so now, whenever we make wine, we get a lot of good discounts and referral discounts! It's always good to have them as last minute gifts, just-because gifts and of course, to drink! Can't say enough good things about making wine...I always make our own wine labels and I gave a bottle to the owner of the particular cellar where we make and I've had a few request to make labels for other people. I don't know why I put that last part in there, irrelevant really...but for all you creative folks out there, if you're getting a bit tired of decorating flat paper, you could always take your creativity to some wine bottles!

SO! Onward we go, our project for this week on Pezadoodle.com is focusing on Ultra Thick Embossing Enamel (UTEE) and get ready for some messy, FUN (I have embossing powder stuck to my feet as we speak! LOL) Go ahead and check out Marti's blog for the tutorial and examples, I will just be posting my creations here. As always, most of the materials used can be found at her online website, everything else will be otherwise noted.

Up first is my card:


I have no idea why my cards have been quite dark lately (I've been LOVING all over black cardstock lately...) Anywho, just a pretty simple card, as the focal point of the card required quite some effort.

The "Remember when..." is actually some decorative chipboard I got at Dollarama and all I did was smooshed (don't you LOVE that word, say it with me now, "SMOOSH") the chipboard into an embossing inkpad (or versamark, whichever you prefer) and then covered all over with the UTEE. Shake off the excess and heat and then repeat the whole process until you've got a nice, thick coat. Disclaimer: Be careful! Everything can get REALLY hot and it doesn't feel nice to have hot, melted embossing powder all over your fingers! So, as soon as you're satisfied with your coatings, let it set and then toss it in the freezer for a good ten minutes. Once it's nice and cold, CAREFULLY bend in some areas to create the cracked glass look. I say carefully very LOUDLY as if you bend too excessively the hardened UTEE could POSSIBLY flick right off your item and POSSIBLY hit you in the face...I'll leave it to you to decide whether or not I'm speaking from personal experience. LOL...

Alright, getting away with myself, I said I wasn't going to tutorialize the whole thing since Marti's already broke it down so well!

The rest of the ingredients are generic ribbon (Dollarama), Sakura glitter pen, Fiskar's border punch (of which is now completely dessimated - thank goodness it fell apart [LITERALLY] after the LAST punch was made), green paper from K&Co.

Next up is a neat little project I came across on Cambria's blog - I'll have to let you Google that on your own as I am too lazy to Google it myself to get the address from you. It's a nice little bag/pouch or whatever you'd like to call it. The tutorial is on her website, once I've gotten over my laziness, I'll post a link.


Anywho, keeping in line with the UTEE project, if you look at the tag, I guess you could say that I UTEE'd the crap out it. The tag was from a cool punched out set from my LSS (I bought a paper grab bag for only $5 and this was one of the things in it!), I stamped my sentiment in Adirondack Espresso Dye Ink and again, SMOOSHED it into my embossing pad. Pour UTEE, heat and REPEAT!
If you look at the tag carefully, you'll see that there's a piece missing...that MAY have been the little bugger that totally flew off the tag when I went to crack it, and it MAY be the missing piece that totally got up close and personal with my face. You may want to consider wearing safety goggles when embarking upon this project - otherwise, Marti and I can NOT be held liable. Consider yourself warned...LOL!

...and for one last bit of gratuitous picture posting, here are a few more things to look at - please try not to gasp too loudly at what you see next:


...but I DID find this EXCELLENT find at Wal-Mart this evening, it was on clearance sale for $13.00! Woohoo!


CURRENT MOOD: SATISFIED CURRENTLY LISTENING TO: NOTHING MUCH
Tuesday, July 29, 2008

All that shimmers...

...is so PRETTY! So, I am writing this entry from a completely different computer at a completely different desk other than mine (here at work) because my video card is apparently busted (I have no idea how since I've been on vacation since Friday and haven't even been using it!). What makes it worse is this is all the internet time I'll be getting until tomorrow or Thursday because my wonder Mister was using my laptop and opened that UPS virus that was going around. HE OPENED IT!!! AAAARGH!!! So I was laptop less over the weekend because my lazy bum couldn't get it in to get fixed until yesterday.

Plus, Tiana's birthday party was on Sunday, so we were über busy with the little munchkin! She was soooo cute - she was so excited for her birthday party, all she was talking about was SWIMMING and CAKE! Then when she saw the presents, she whispered to her Dad: "Look, Dada...presents!" And her eyes got all big and round!

Anywho...I played some yesterday with all my wonderful DT stuff and got a little bit done...mojo still ain't running like she used to, but whatevs, I'm still chugging along.

The first card is one done up just like Marti's on her blog - using alcohol inks and glossy paper!


I know it's not too exciting, but I didn't want to do too much more to cover up the nice background. I know it doesn't look like too much, but there was a lot of things done to this card. Lemme see, lemme see - all material, unless otherwise stated can be found at Marti's Pezadoodle store.

So first off, I took some glossy cardstock (to reiterate if I haven't already done so, this isn't the same as PHOTO paper - glossy cardstock (in white AND black) can be found at Marti's site, already pre-cut to size).

I used my wonderful, new foam ink tool and my alcohol inks (Denim and Slate) and just dabbed all the ink over the whole piece of cardstock. Then I took my WONDERFUL shimmery Tsukineko inkpad (I don't have it with me so I don't remember the colour) and I dabbed it over the cardstock after I Cuttlebugged it with the snowflake folder. After that, I decided it needed some lighter aspects so I took my Adirondack pigment inkpad and WHITE and laid the cardstock over the raised pad and just tapped the cardstock with my finger on certain spots to give it a frosty, white colour on some of the raise, snow flake areas. Once that was all dry, I stickled some of the snowflakes using Crystal and I also covered my white snowflake with the same stickles. I just used some clear mini "Skittles" for the arms of the flakes and generic ribbon from my stash, and VOILA! Wintery flakiness!

This one I actually started a while ago, but I got side-tracked with the other events that were going on - so I finished it up last night. Let's see...I used my Chinese garden stamp set from Stamp King and I stamped with Perfect Medium so instead of leaving a colour, it left a nice wet area for me to dust over with Perfect Pearls! I used Perfect Pearls in gold, eggplant, and green (I'm not sure what the name of the colour is) and dusted with a dry, fluffy paint brush - all on black cardstock!

So that's that...I've got more pictures to post, but it'll have to wait until I'm up and running again!

CURRENT MOOD: CURRENTLY LISTENING TO:

Wednesday, July 23, 2008

Clip-It

...it's weird, I didn't even have any coffee today and I STILL feel like I'm rarin' to go!

Work was actually quite busy today (I am SO minus MSN right now because a lot of people were fooled by this virus from UPS we all received and a TON of people at work opened it before our tech peeps could tell us not to, so I'm trying to keep a low profile since I already JUST had my computer completely wiped out of all the crap in it). I got home and The Mister and I got into cleaning mode - and I actually CLEANED!

My assignment was to tackle the NASTY amount of dishes and things growing in the sink and The Mister's was to clean out our closet to make room for stuff and I had a little fun along the way à la this:


...yes, yes, that really IS the coolness of me. I wanted to put my wedding dress on too, but The Mister refused to get the dress out of the box and lace me up. MEH...dress up = DENIED. Ah well, if you're wondering, I did take the veil off shortly after this picture was taken (after I ran around the house and fanned it out for a bit...)

After the cleaning I was kind of pooped, but I had gone and had a little fun at Dollarama and found these fabulous Post-it notes and I tried my hand at making some post-it clipboards - hence...CLIP-ITs!


So these are for my co-workers and myself. We've recently become quite the bonded trio after my co-worker's personal stuff and it's been a fabulous time at the office (also less drama from the most dramatic one who's FINALLY off for a while). The first clipboard says STRONG for the co-worker going through the personal stuff, the second says CHARMING just because she SO is, and the third says BRILLIANT because I TOTALLY am! *LoL* It's kind of an inside joke between the three of us that worked out really well since I had the metal plates...I probably won't remember it the next time I read this...

So, onto the materials!

Coaster chipboard - http://www.pezadoodle.com/
Paper: Glitter Stack - Chapters
Flowers: Prima - Cafe Prima
Ribbon: Generic - I don't even remember
Post-it pad - Dollarama
Clip - Dollarama
Metal plates - Dollarama

Oops, and I almost forgot, some Princess Pops I robbed from myself!

P.S. Oh and a little off-topic, but my cousin's wedding that happened a few weeks ago...I'm going to be a GODMOTHER! She brought home a little honeymoon peanut!

CURRENT MOOD: CURRENTLY LISTENING TO: