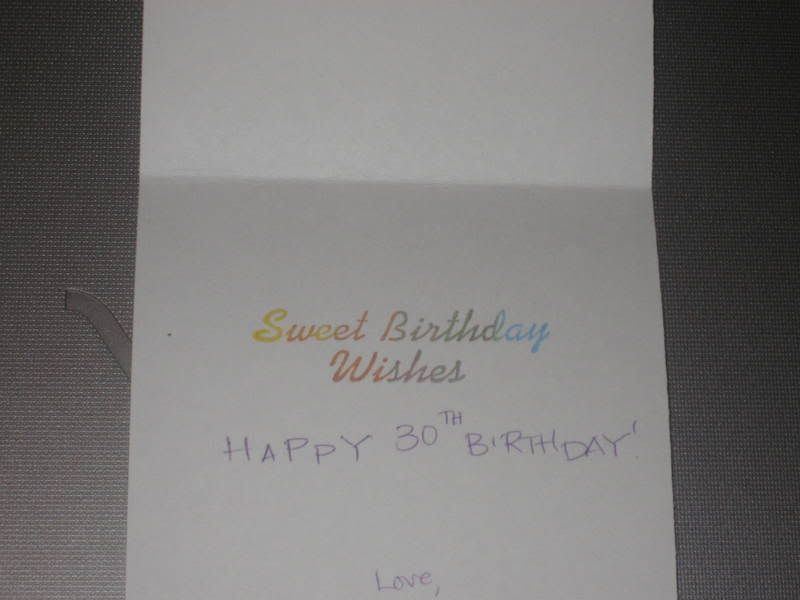
...look at me with all the creating!
It's been a pretty good evening for it. For date night, The Mister and I went and bottled our wine that we had made (Kiwi Melon Zinfandel - YUMMY!) and even though I don't really drink wine, it's always so much fun to bottle! If you're interested in making and bottling your own wine, I highly recommend Vintner's Wine Cellar - if you have one in your area. Very good prices - we've been coming back since we made our ice wine favors for our wedding and I've also referred a bunch of people, so now, whenever we make wine, we get a lot of good discounts and referral discounts! It's always good to have them as last minute gifts, just-because gifts and of course, to drink! Can't say enough good things about making wine...I always make our own wine labels and I gave a bottle to the owner of the particular cellar where we make and I've had a few request to make labels for other people. I don't know why I put that last part in there, irrelevant really...but for all you creative folks out there, if you're getting a bit tired of decorating flat paper, you could always take your creativity to some wine bottles!
SO! Onward we go, our project for this week on Pezadoodle.com is focusing on Ultra Thick Embossing Enamel (UTEE) and get ready for some messy, FUN (I have embossing powder stuck to my feet as we speak! LOL) Go ahead and check out Marti's blog for the tutorial and examples, I will just be posting my creations here. As always, most of the materials used can be found at her online website, everything else will be otherwise noted.
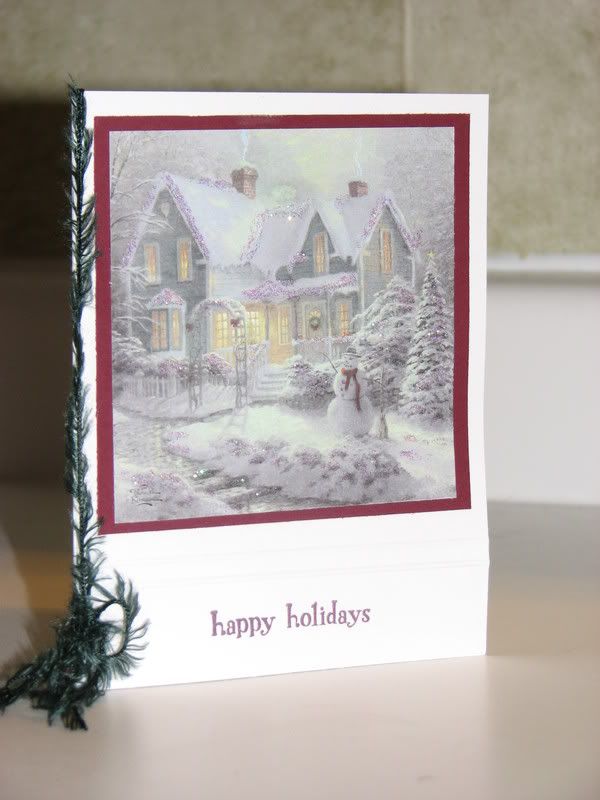
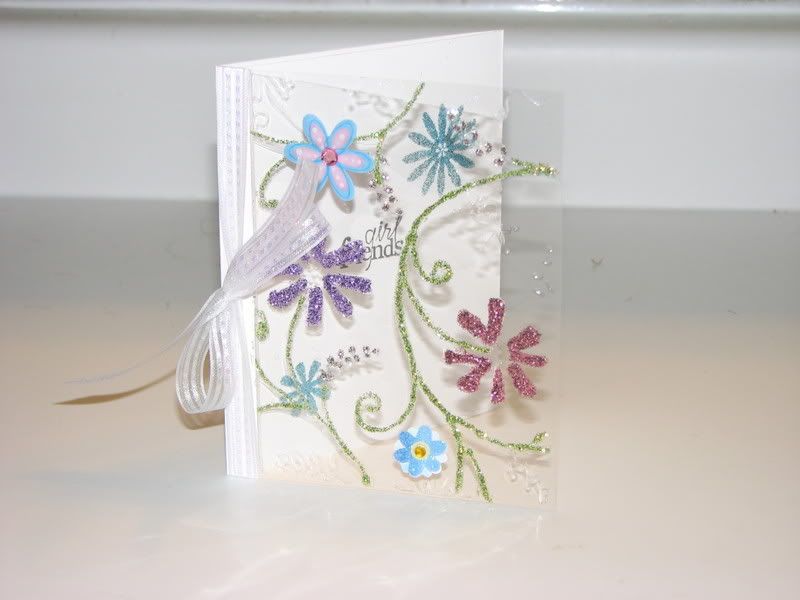
Up first is my card:


I have no idea why my cards have been quite dark lately (I've been LOVING all over black cardstock lately...) Anywho, just a pretty simple card, as the focal point of the card required quite some effort.
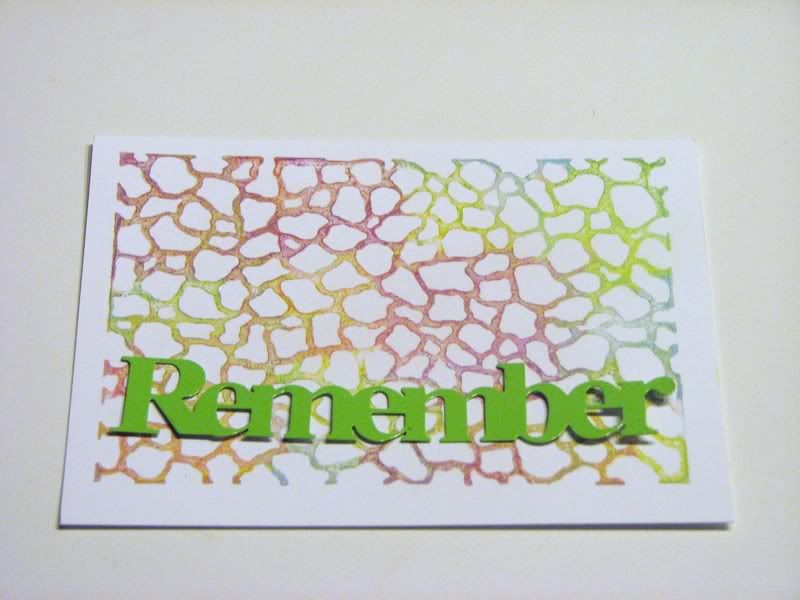
The "Remember when..." is actually some decorative chipboard I got at Dollarama and all I did was smooshed (don't you LOVE that word, say it with me now, "SMOOSH") the chipboard into an embossing inkpad (or versamark, whichever you prefer) and then covered all over with the UTEE. Shake off the excess and heat and then repeat the whole process until you've got a nice, thick coat. Disclaimer: Be careful! Everything can get REALLY hot and it doesn't feel nice to have hot, melted embossing powder all over your fingers! So, as soon as you're satisfied with your coatings, let it set and then toss it in the freezer for a good ten minutes. Once it's nice and cold, CAREFULLY bend in some areas to create the cracked glass look. I say carefully very LOUDLY as if you bend too excessively the hardened UTEE could POSSIBLY flick right off your item and POSSIBLY hit you in the face...I'll leave it to you to decide whether or not I'm speaking from personal experience. LOL...
Alright, getting away with myself, I said I wasn't going to tutorialize the whole thing since Marti's already broke it down so well!
The rest of the ingredients are generic ribbon (Dollarama), Sakura glitter pen, Fiskar's border punch (of which is now completely dessimated - thank goodness it fell apart [LITERALLY] after the LAST punch was made), green paper from K&Co.
Next up is a neat little project I came across on Cambria's blog - I'll have to let you Google that on your own as I am too lazy to Google it myself to get the address from you. It's a nice little bag/pouch or whatever you'd like to call it. The tutorial is on her website, once I've gotten over my laziness, I'll post a link.


Anywho, keeping in line with the UTEE project, if you look at the tag, I guess you could say that I UTEE'd the crap out it. The tag was from a cool punched out set from my LSS (I bought a paper grab bag for only $5 and this was one of the things in it!), I stamped my sentiment in Adirondack Espresso Dye Ink and again, SMOOSHED it into my embossing pad. Pour UTEE, heat and REPEAT!
If you look at the tag carefully, you'll see that there's a piece missing...that MAY have been the little bugger that totally flew off the tag when I went to crack it, and it MAY be the missing piece that totally got up close and personal with my face. You may want to consider wearing safety goggles when embarking upon this project - otherwise, Marti and I can NOT be held liable. Consider yourself warned...LOL!
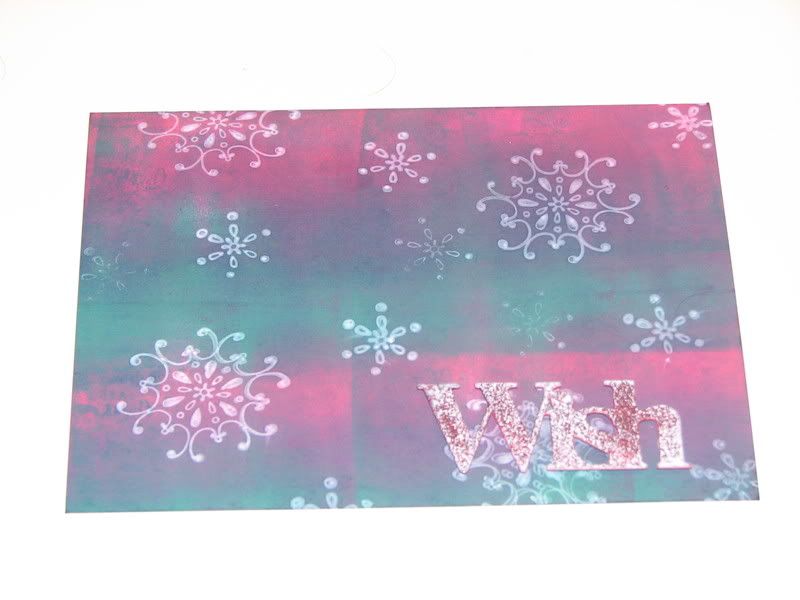
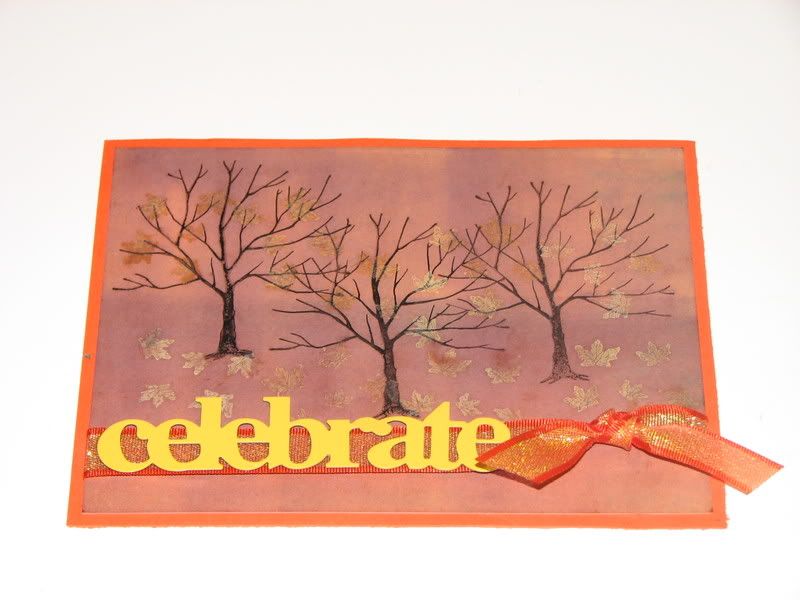
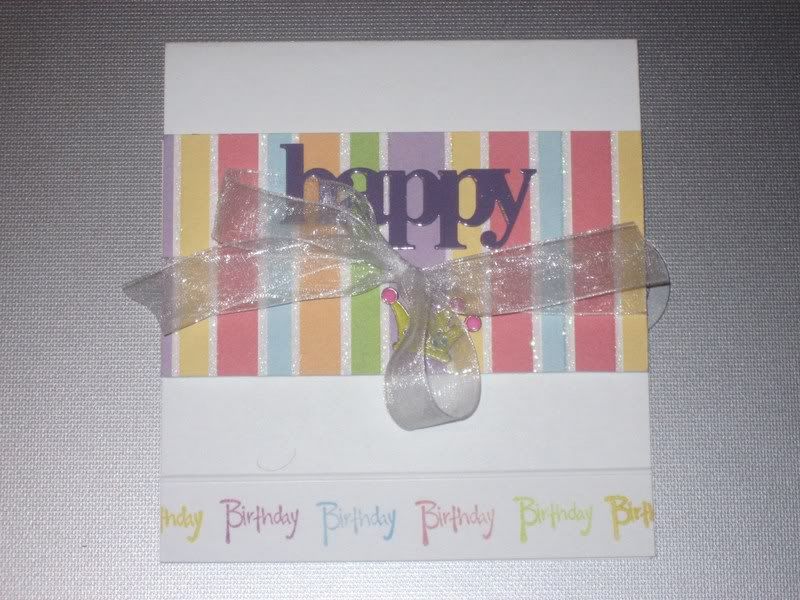
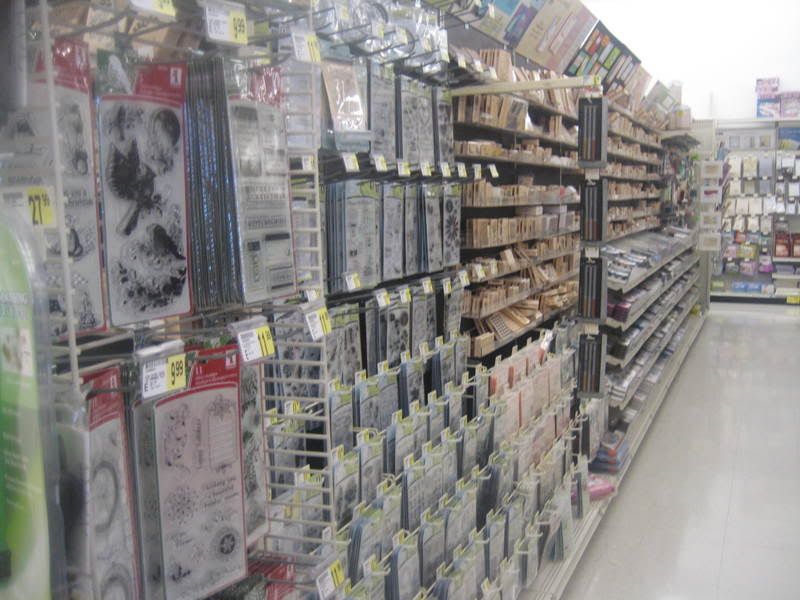
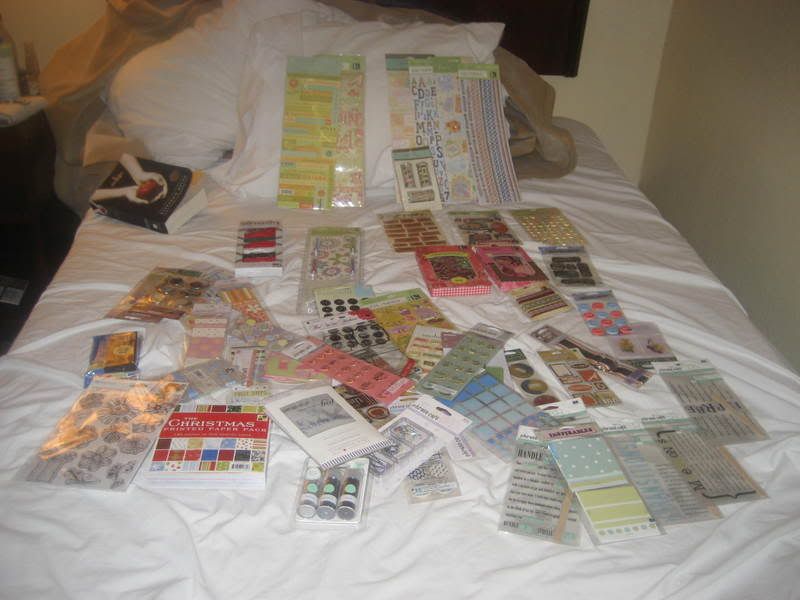
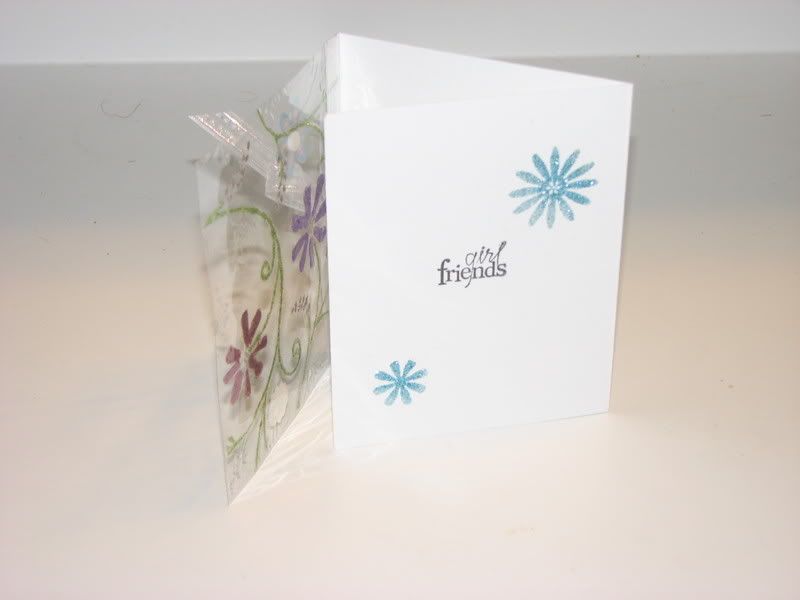
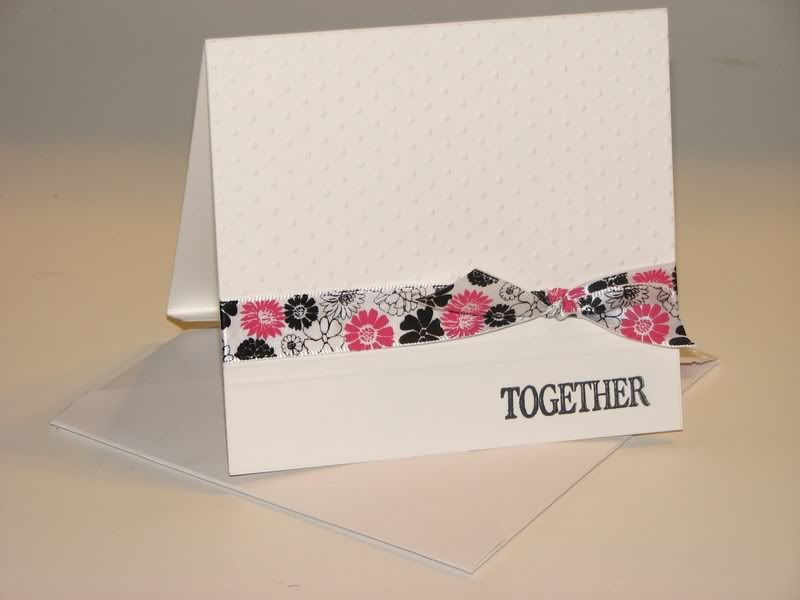
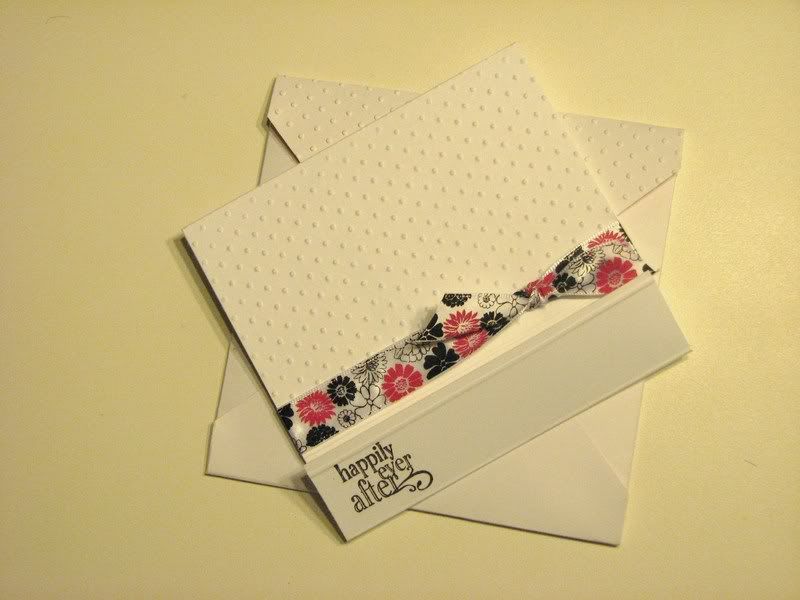
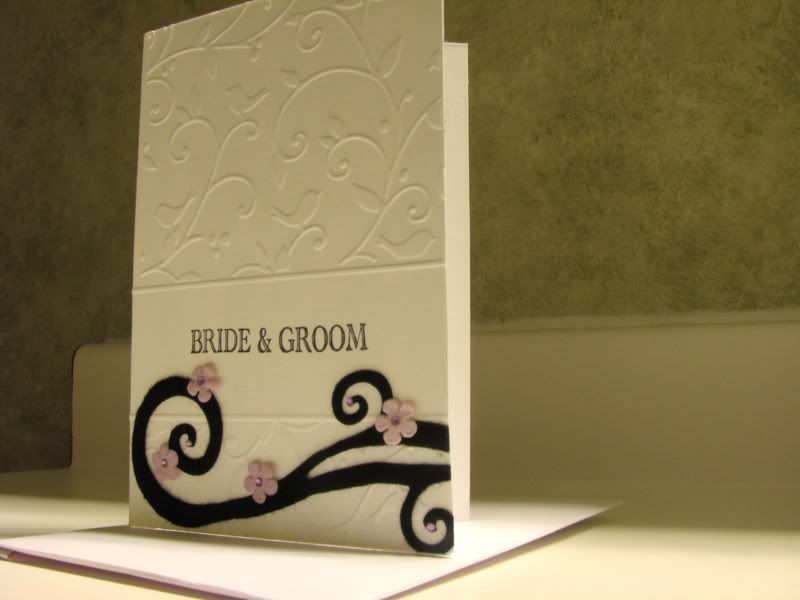
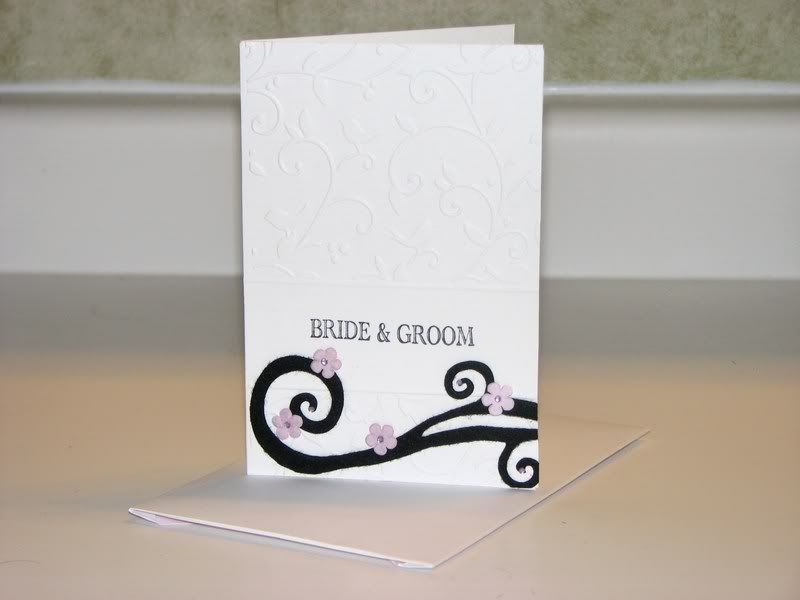
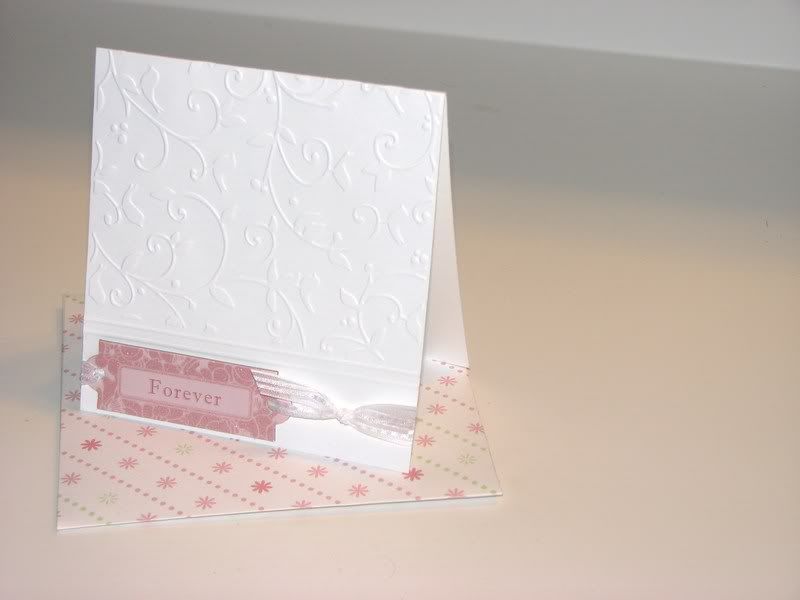
...and for one last bit of gratuitous picture posting, here are a few more things to look at - please try not to gasp too loudly at what you see next:


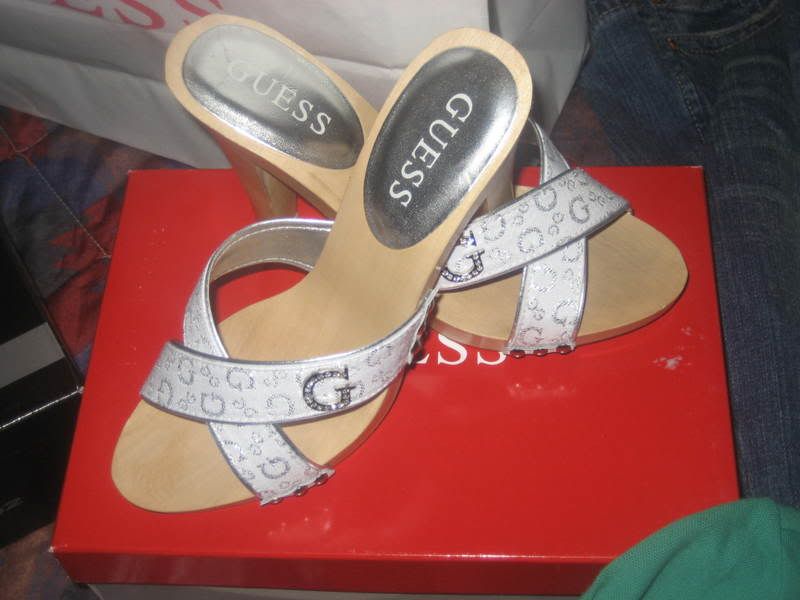
...but I DID find this EXCELLENT find at Wal-Mart this evening, it was on clearance sale for $13.00! Woohoo!


CURRENT MOOD: SATISFIED CURRENTLY LISTENING TO: NOTHING MUCH


 CURRENTLY LISTENING TO: BODY BUMPIN' - PUBLIC ANNOUNCEMENT
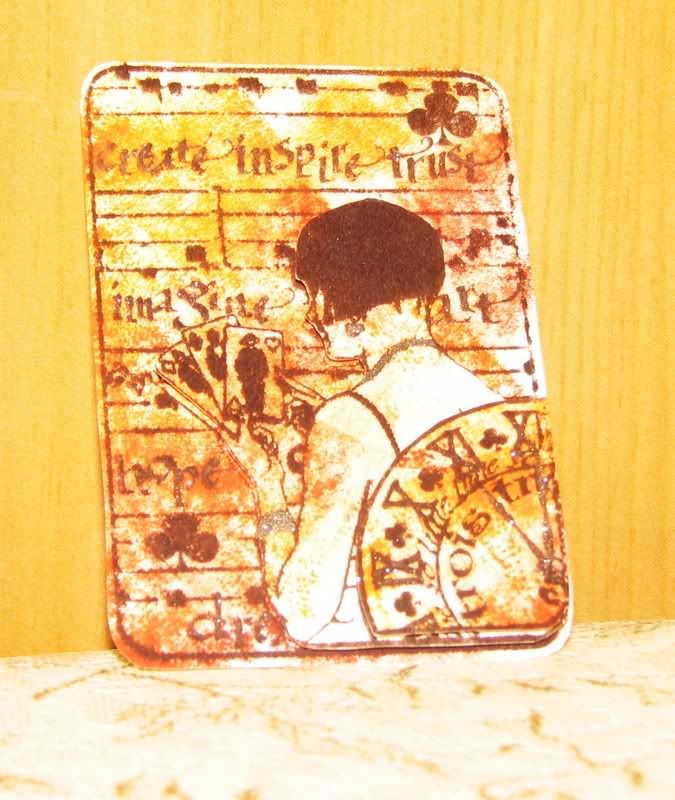
 CURRENTLY LISTENING TO: JUST DANCE - LADY GAGA

