...our own fearless DT leader Marti has definitely set us up with a challenge with our DT assignments this week (or TORTURE considering that I *just* got my COPIC markers...*LOL* however you choose to look at it) our mission: stamp but nooooo colouring! *gasp* I KNOW! How could she DO this to me? Hahahaha...
Actually, my poor neglected COPICs aside (which isn't that big a deal since I don't even know to really use them yet!), the challenge was AWESOME! I love how it got me to pull out all the other materials I've been hoarding but haven't really used to their full potential!
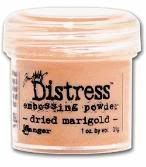
So today I am looking at Distress Embossing Powders!
These are the colours that I used for this project: Anywho, I used these on my no-colouring project and this is how it turned out: I also used another no-colour technique for the front of the card...I wonder if that gets me any bonus points with the DT leader! LOL...but for the front of the card, I embellished my oval window with a flourish stamp that I inked using three matching Studio G ink pads. So basically, I attached my clear stamp to the block and went at it with the three different coloured ink pads starting from the lightest to the darkest. When I stamped, all three colours showed through making it nice and multicoloured without me having to bust out any colouring materials! Less the effort but maximum effect! I sure like that equation! I also did the same technique with the Studio G sentiment and finished it all off with coordinating FLOWER SOFT and paper piercing! *swoon* That's it for me today, I'm supposed to be lookin' busy stuffing tax receipts! *giggles* Thanks for dropping by and visiting! MATERIALS Stamp(s): Butterflies a-Swirl by Pez-a-Doodle Designs, Studio G clear stamps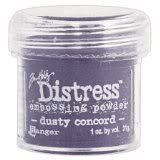

The difference between these embossing powders and the other powders that are normally used is that when heat is applied, these don't melt down into the shiny, raised look that most people associate with heat embossing and powder. These distress powders end up with a rough, gritty feeling and the weather-worn look when heat is applied - just like the packaging says! They also differ from other embossing powders in that they have to be shaken very well first get the "distress" crystals distributed before use. These crystals is what gives the embossing powder their name! Once sprinkled onto a project and heated, when the powder has cooled, you can rub your finger over the area you have just embossed and these crystals will give the project it's distressed look! I don't really emboss much or distress enough to really be able to say that the project gets an authentic distressed look, but I *LOVE* using these embossing powders as it definitely lends any projects a totally different look and feel that other regular ol' embossing powders just don't do!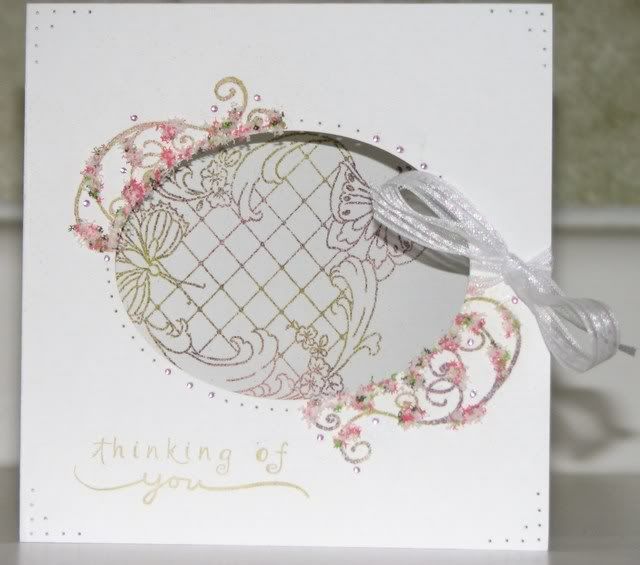
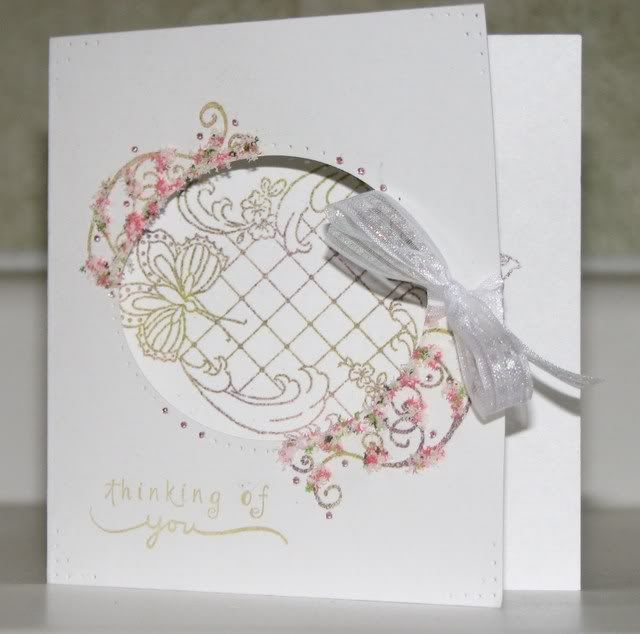
Can I just say that I *heart* how this turned out!?! So to break it down, I first made sure that I had shaken all my jars of embossing powder that I would be using and had them open, lined up and waiting to be used. Then I stamped my image on the INSIDE of the card with Versamark. While Versamark was still wet, I took a pinch of one colour of powder and sprinkled it over certain areas of the wet stamp and did the same step for the other two colours. Once I had a nice sprinkling in different areas of the colours that I wanted, I held up the card and tapped my fingers underneath the card to make the powder "dance" around. This ensures that all the areas are covered in powder. Then I just dumped the excess powder in the trash...with the colours all mixed up, I knew I wasn't going to be using it again. But feel free to save it if you think you'd like to use some funky, mixed-up colours to emboss one day. So once I had everything powdered, I applied heat, let it cool and then rubbing the living daylights out of it to distress certain areas. To finish up the card, I pulled out my brand new Oval Nestabilities and punched out an oval at the front for my stamped image to show through.
All hyperlinked products and materials are from Marti from Pez-a-Doodle Designs
Ink: Versamark, Studio G ink pads
Embellishments: Tim Holtz Distress Embossing Powder, Flower Soft, rhinestones
Tools: Paper piercer, Oval Nestabilities, Heat gun
CURRENT MOOD: OVERLY CAFFEINATED CURRENTLY LISTENING TO: STUDENT COMPLAINTS


3 comments:
I think this card turned out great! What a great idea to get you all to dig deep into your stash and think outside the box! I have always wanted to see these powders in action wondering what the difference was between them and regular powders....well, now I know.... Thanks! ;)
I own these powders and never knew how to get them to work "correctly". I will shake them up and try them out again! Thanks so much.
Ohhh, I really like the window card! What a great idea and how cool!!
Post a Comment